The Complete Home Barista Setup Guide (2026): Equipment, Accessories & Where to Start
Making cafe-quality espresso at home has never been more achievable — or more popular. Whether you've just bought your first espresso machine or you're planning the upgrade, this guide covers everything you need to set up a home espresso bar that actually performs.
We'll go through the must-have accessories in order of priority, what to skip when you're starting out, and how to build your setup progressively without wasting money on things you don't need yet.
Start With the Right Machine
This guide is focused on accessories and setup — not machine reviews — but your machine choice shapes everything else, so a quick note is worth it.
Most home baristas in Australia are working with one of the following:
- Breville Barista Express or Barista Pro — the most popular entry-to-mid machines. 54mm grouphead. Built-in grinder. Great value starting point.
- Breville Oracle or Dual Boiler — step up in quality and control. 58mm grouphead.
- De'Longhi Dedica or La Specialista — compact footprint. 51mm grouphead. Popular in smaller kitchens.
- Gaggia Classic Pro or Classic E24 — entry-level manual machine with a cult following. 58mm, 3-ear grouphead.
- E61 machines (Lelit, ECM, Rocket, Profitec) — prosumer tier. 58mm E61 standard grouphead.
- La Marzocco Linea Mini, GS3, Leva — commercial-grade home machines. 58mm E61-compatible.
The reason this matters: your machine's grouphead size (51mm, 54mm, or 58mm) determines which accessories are compatible with it. Every recommendation below will note which size applies.
Not sure what size your machine is? Use our Find Your Portafilter tool for a quick answer.
The Must-Have Accessories — In Order of Priority
This is not a list of everything you could possibly buy. It's the order in which accessories make the biggest difference to your espresso, ranked by impact per dollar.
1. Bottomless Portafilter
If you only buy one accessory, make it this one.
A bottomless portafilter (also called a naked portafilter) removes the spouts from the bottom of the handle, leaving the basket fully exposed. This sounds cosmetic — it isn't. When you pull a shot with a bottomless portafilter, you can see exactly what's happening during extraction in real time: whether the flow is even, whether water is channelling through weak spots, whether your tamp was level.
It's the fastest learning tool in home espresso. Most people who switch to a bottomless portafilter don't go back — not because of aesthetics, but because the visual feedback helps them dial in their grind and technique far faster than pulling shots blind.
You need to match the portafilter to your machine's grouphead size: 51mm for De'Longhi Dedica, 54mm for Breville Barista Express/Pro, 58mm for everything else.
Shop bottomless portafilters →
2. A Proper Tamper
The tamper that came with your machine is almost certainly plastic and undersized. This isn't a small thing — a tamper that doesn't fill the basket edge-to-edge leaves a gap where water can bypass the coffee entirely, causing channelling and inconsistent extractions.
A barista-grade tamper with a flat stainless steel base, sized correctly for your basket, is a significant upgrade. The key sizes:
- Breville Barista Express/Pro/Bambino Plus — 53mm
- Breville Oracle/Dual Boiler — 58mm
- De'Longhi Dedica/Smeg 50s Style — 51mm
- Gaggia, E61, La Marzocco — 58mm
If you want to remove tamping pressure as a variable entirely, a calibrated tamper clicks at a set pressure every time — useful while you're still developing consistent technique.
3. Puck Screen
A puck screen is a thin stainless mesh disc that sits on top of your tamped coffee puck before you lock in the portafilter. When hot water flows from the grouphead, instead of blasting directly into the centre of the puck (which disturbs the surface and causes channelling), it's distributed evenly across the entire bed.
The results: more consistent extractions, less channelling, and a significantly cleaner grouphead shower screen — because the puck screen catches the coffee oils before they coat it.
It's one of the cheapest upgrades in the range and one of the most frequently recommended by home baristas who've tried it. Match the size to your portafilter basket: 51mm, 54mm (or 53.5mm for Breville), or 58mm.
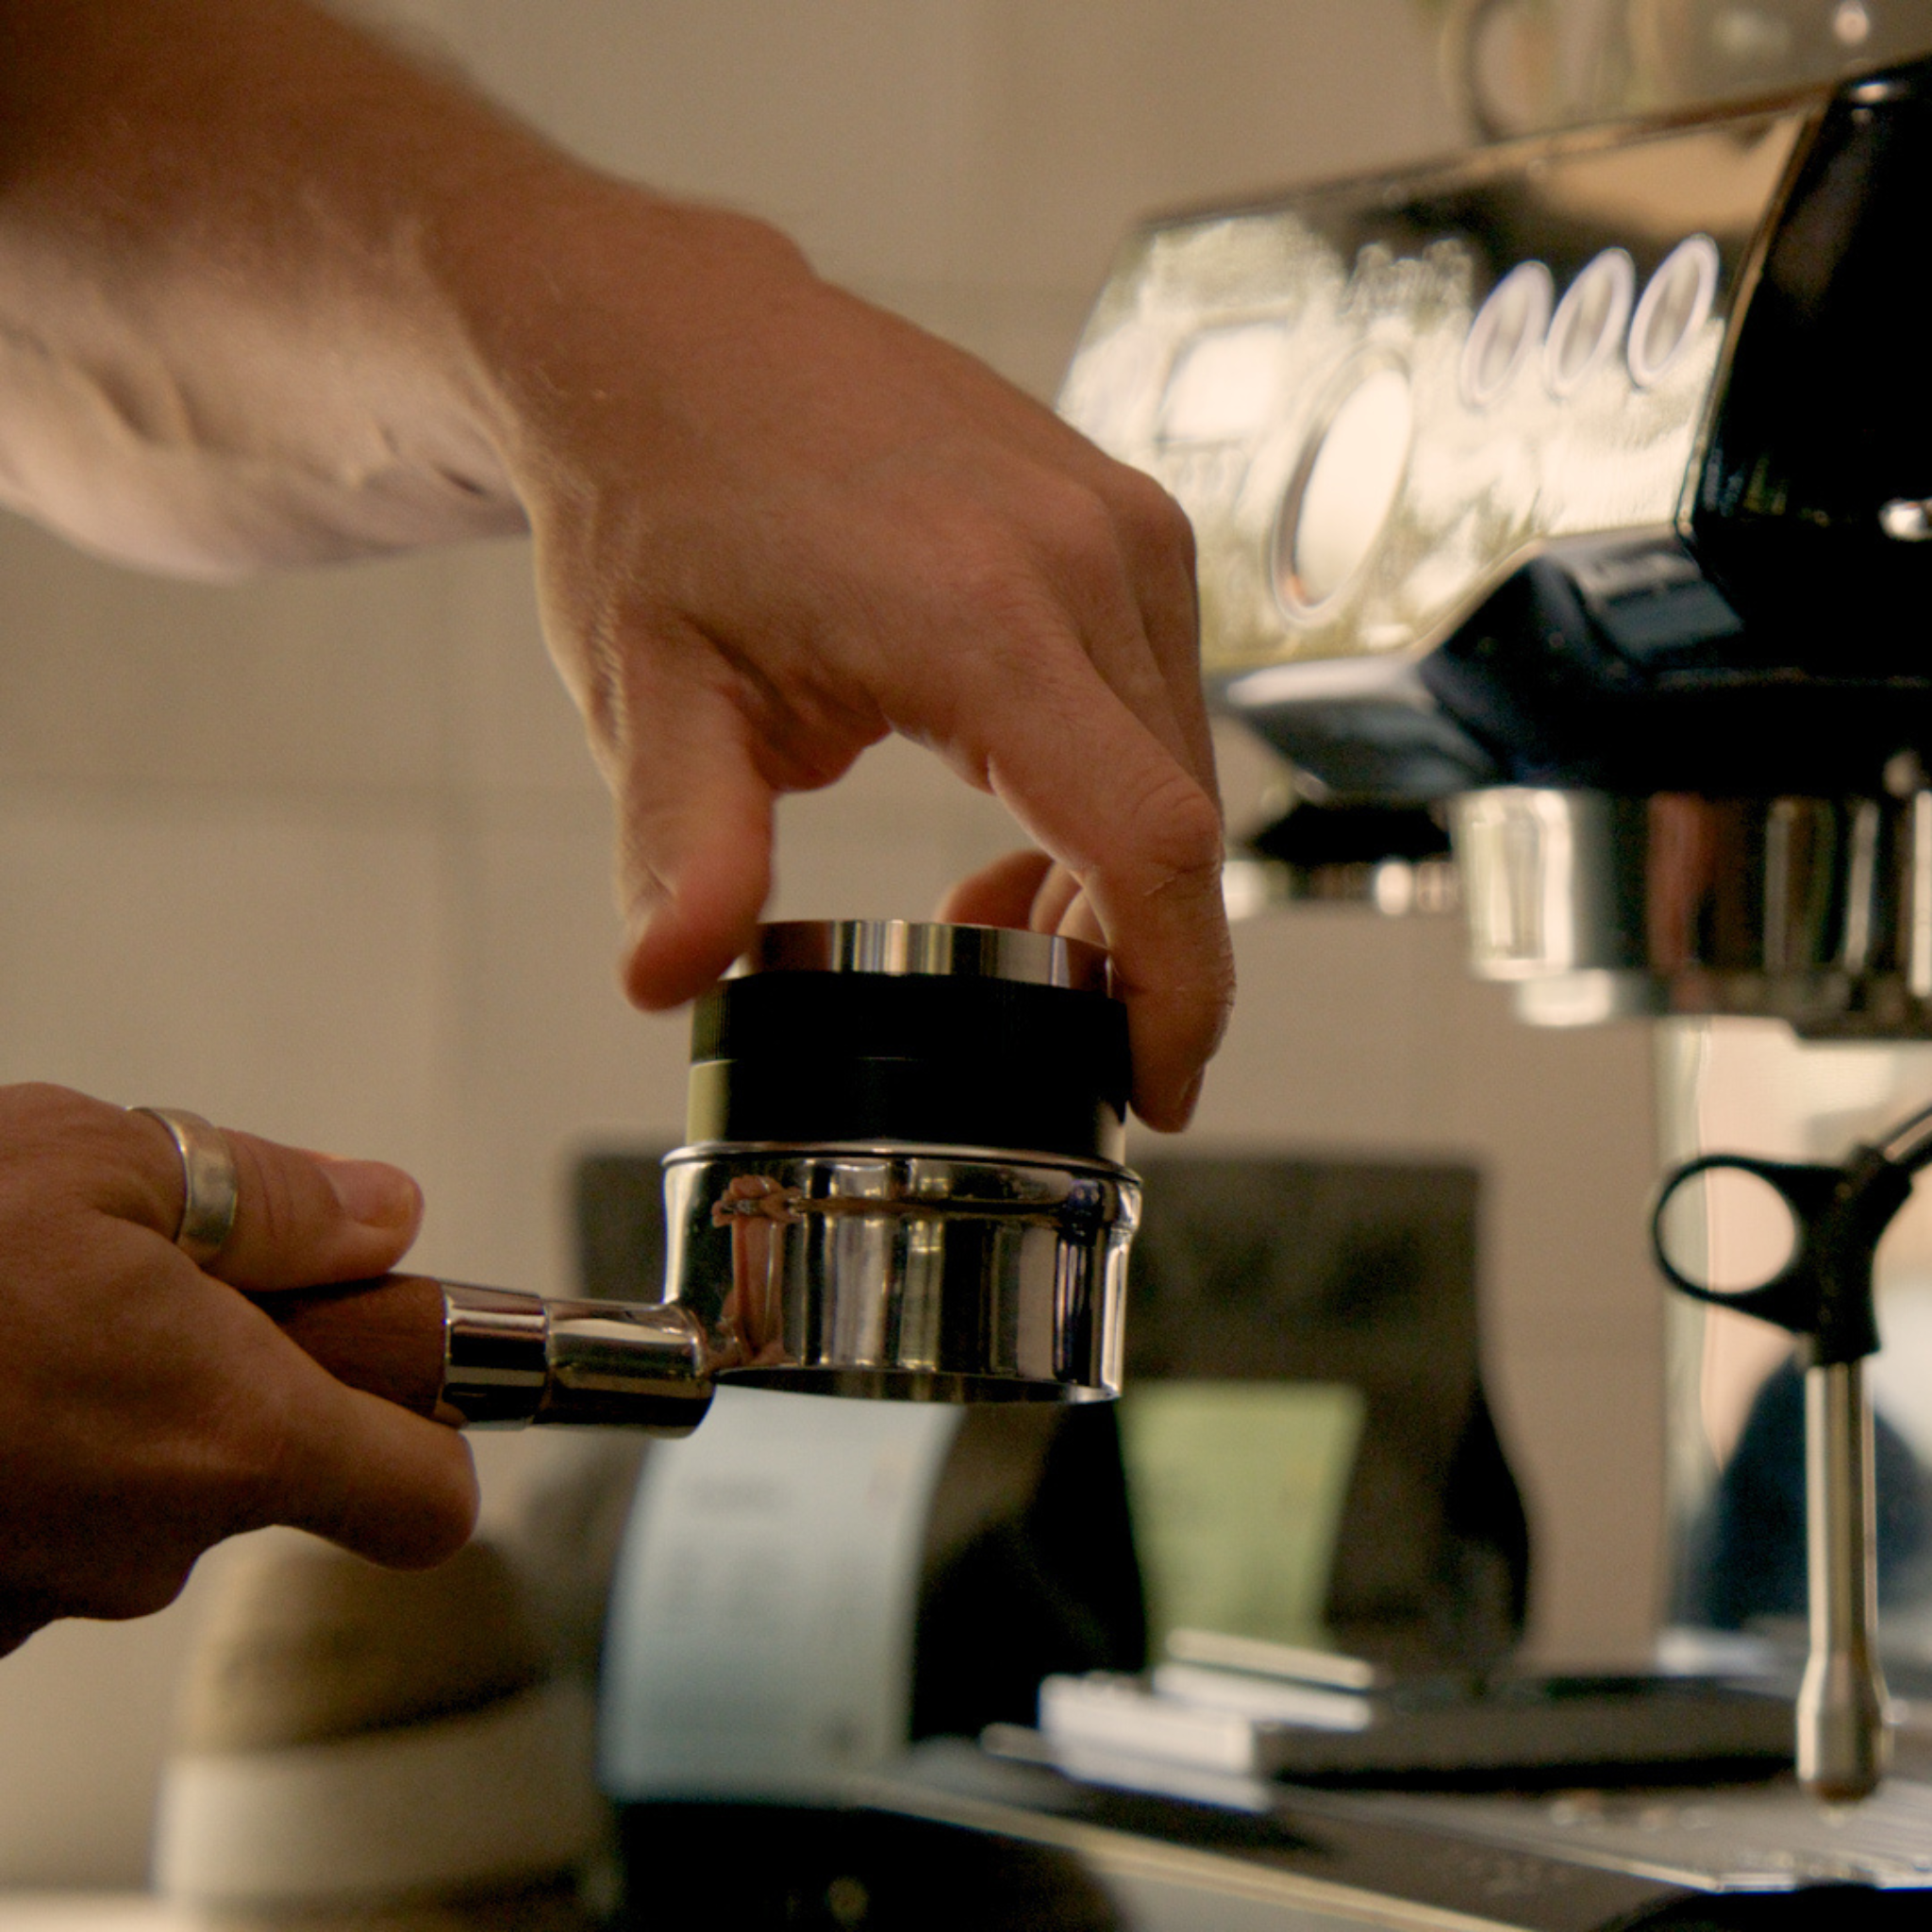
4. Coffee Distributor (or 2-in-1 Tamper & Distributor)
A coffee distributor — also called a leveller — spins across the top of your grounds before tamping to even out the coffee bed. It eliminates the uneven piles, clumps, and gaps that form when coffee falls out of a grinder, which left untreated become the weak spots water channels through.
The workflow is simple: dose your grounds, spin the distributor 2–3 times, then tamp. The whole thing adds 5 seconds and makes a noticeable difference to consistency.
If you're building your puck prep kit from scratch, our 2-in-1 tamper & distributor is an excellent starting point — you get both tools in one unit with adjustable depth screws, so you set it once for your usual dose and it's repeatable every time.
If you already have a tamper you love, a standalone distributor is the next logical addition.
5. Milk Frothing Jug
If you drink flat whites, lattes, or cappuccinos, a quality milk jug is essential. The stock jugs that come with machines are often too large, too thin, or poorly shaped for creating good microfoam.
For most home setups making one or two drinks at a time, a 350ml–420ml stainless steel jug is the sweet spot. It gives you enough milk to froth with proper technique without too much excess. A 600ml jug is better if you regularly make multiple drinks in one session.
Stainless steel conducts heat well, which is how baristas know when to stop steaming — you feel the jug warming in your hand. A pointed spout gives better control for latte art; a rounded spout is more forgiving for beginners.
6. Knock Box
Once you're pulling regular shots, a knock box becomes one of those things you wonder how you lived without. It gives you a clean, padded surface to knock your used coffee puck into — protecting your portafilter rim, keeping your bench clean, and making your workflow much more efficient.
Without one, most people knock the portafilter on the edge of the sink — which works, but damages the rim over time. A compact stainless knock box takes up minimal counter space and lasts indefinitely.
7. Coffee Grinder
If your machine has a built-in grinder (Breville Barista Express, for example), you can skip this for now. But if you're on a machine without a grinder — or if you've outgrown the built-in — a dedicated burr grinder is the single biggest quality upgrade available to a home barista.
Grind quality affects everything. Inconsistent particle sizes lead to uneven extraction; grounds that are too coarse or too fine lead to over or under extraction. A good burr grinder lets you dial in your dose precisely and repeat it reliably.
Budget Guide: What to Buy at Each Stage
Starter Setup (~$70–$120)
You've just bought a machine or you're new to espresso. Focus on the two things that make the biggest immediate difference:
- Bottomless portafilter (sized for your machine)
- Proper barista-grade tamper
These two upgrades alone will immediately improve your shot quality and your ability to diagnose what's going wrong. Everything else can wait.
Intermediate Setup (~$170–$250 total)
You're getting consistent shots and want to take the next step:
- Everything in starter
- Puck screen
- Coffee distributor (or upgrade to a 2-in-1 tamper & distributor)
- Milk frothing jug (if making milk drinks)
At this point you have a complete puck preparation workflow and the tools to pull genuinely consistent, cafe-quality shots.
Full Setup (~$350+ total)
You're dialled in and want a complete, well-equipped home espresso bar:
- Everything in intermediate
- Knock box
- WDT needle distribution tool (for breaking up clumps before distributing)
- Dosing cup or dosing ring (for cleaner workflow)
- Digital scales (for weighing dose and yield — essential for dialling in)
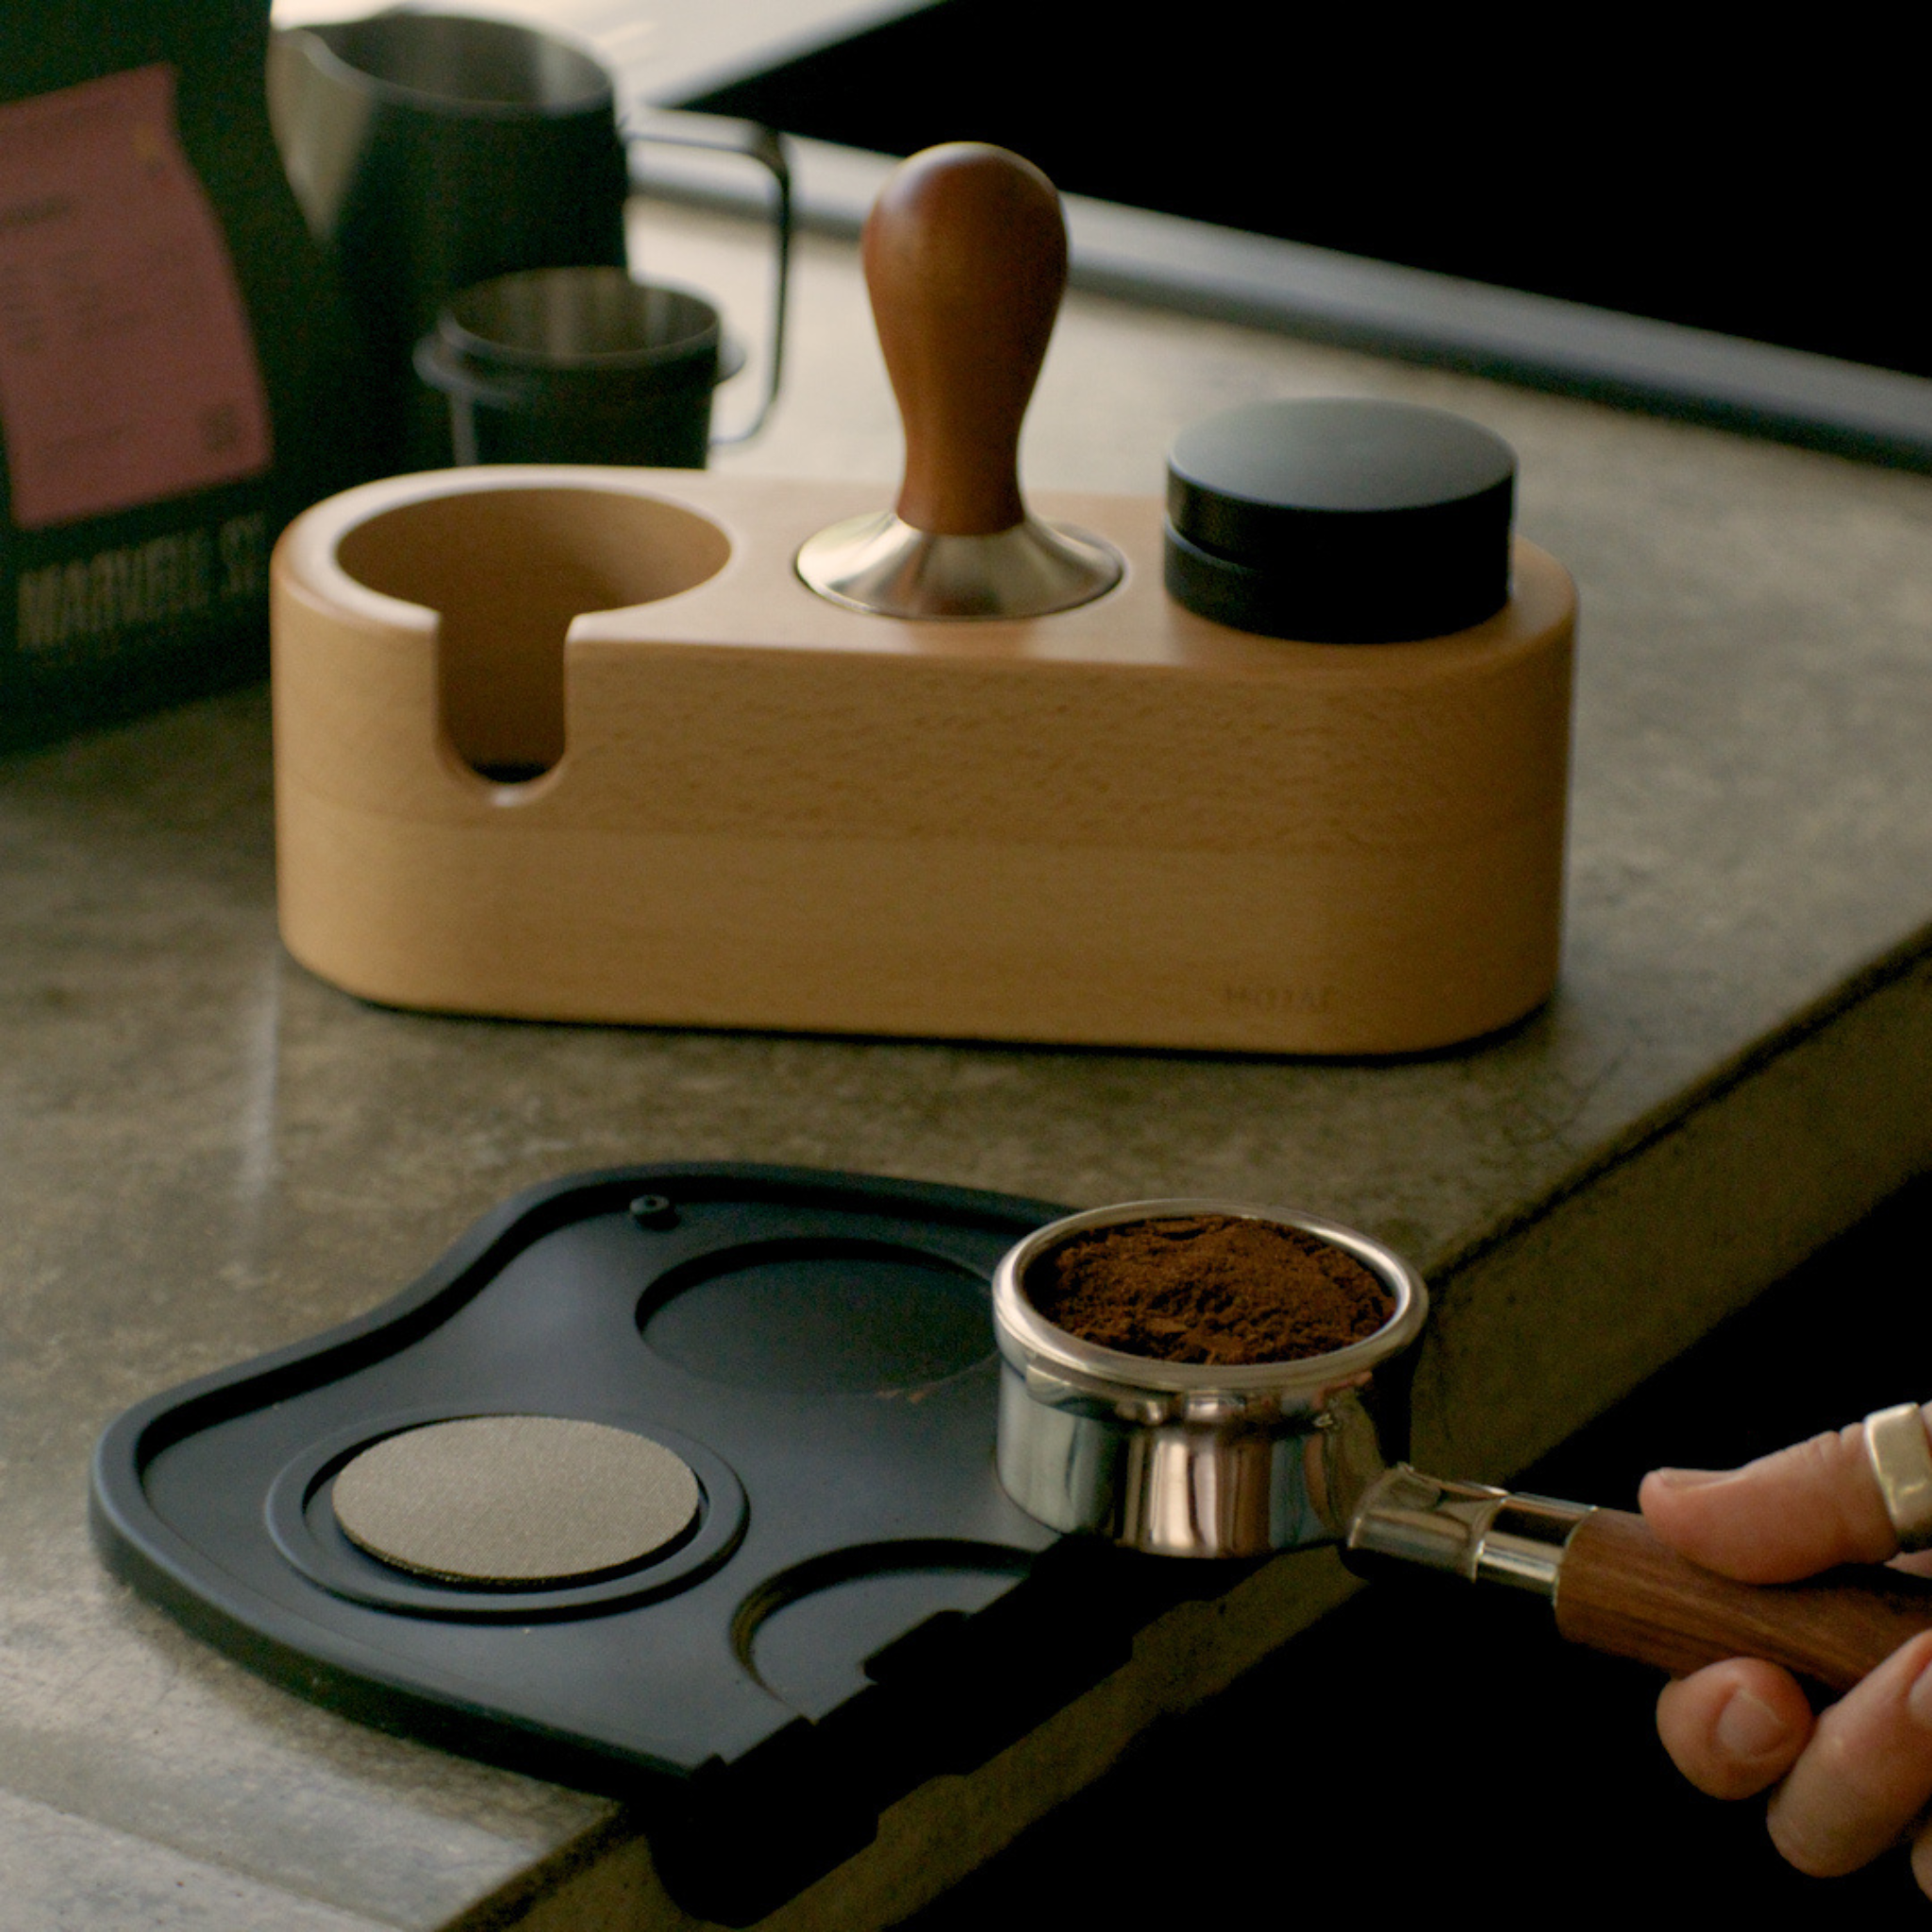
- Tamping mat or station
The Puck Prep Workflow That Makes Everything Easier
Once you have the core accessories, this is the workflow that produces the most consistent results shot after shot:
- Dose — grind 18–20g of coffee into your portafilter (weigh it if you can)
- WDT — use a needle tool to break up any clumps from the grinder (optional but recommended)
- Distribute — spin your distributor 2–3 times to level the bed
- Tamp — firm, vertical, consistent pressure; polish with a twist as you lift
- Puck screen — place on top of the puck before locking in
- Lock in and brew — aim for 25–30 seconds and a 1:2 ratio (e.g. 18g in → 36g out)
Each step removes a variable. The fewer variables in your process, the more consistent your shots — and the faster you can identify what to change when something isn't right.
Machine-Specific Accessory Pages
If you want to skip the guesswork, we've put together dedicated accessory pages for the most popular home espresso machines — everything pre-filtered to your exact grouphead size and compatibility:
- Breville Barista Express & Pro accessories (54mm)
- Breville Dual Boiler & Oracle accessories (58mm)
- De'Longhi Dedica accessories (51mm)
- De'Longhi La Specialista accessories (51mm)
- Gaggia Classic Pro & E24 accessories (58mm)
- La Marzocco accessories (58mm)
A Note on Buying Order
The most common mistake new home baristas make is buying too much at once before understanding what they actually need. Start with the bottomless portafilter and a proper tamper. Pull shots for a week or two. See what's inconsistent. Then add the puck screen and distributor. Build your setup based on what your shots are telling you — not based on what someone else's full kit looks like.
The best home espresso setup is the one you actually understand and use consistently. Technique and repetition matter more than gear at every stage of the journey.
Questions about what's right for your specific machine? Get in touch — we're happy to help.